Marking Positions with the Fujaku Strip or Individual Markers

Fretless Freedom

One detail that emphasizes the elegant beauty of shamisen is the lack of markings on the neck. The neck is a long, sleek beauty with nothing to distract the eye. This fretless freedom allows you to play microintervals but it also requires you to be more careful when it comes to placing your fingers for a clean pitch. You don't need markings to play - otherwise they would be built into the instrument. But that doesn't mean that you can't or shouldn't use some optical aids to help you remember where particular positions are. Especially in the beginning of the shamisen journey, everything is new and you feel the need to focus on so many different things at the same time. That's why it's a great when you can take some load off the brain.

If you learn songs with bunkafusheet music (tabulature notation for shamisen), marking positions makes a lot of sense because the notation is basically "color with numbers" for music - "sound by numbers" so to say. Every position corresponds with a certain pitch. The positions used in bunkafu notation are spaced in half steps/semitones. For example, when 0 (open string) is a C, this makes 1 a C# (C sharp), 2 will be a D, and so on. The reason for the existence of the # and b positions are to be found in the development of the music repertoire and the scales used to create music. They are new additions to the older positions. Thus, we have 12 semitones/half steps, which in turn resembles our classical Western chromatic scale.

Fujaku Strip as a Position Marker
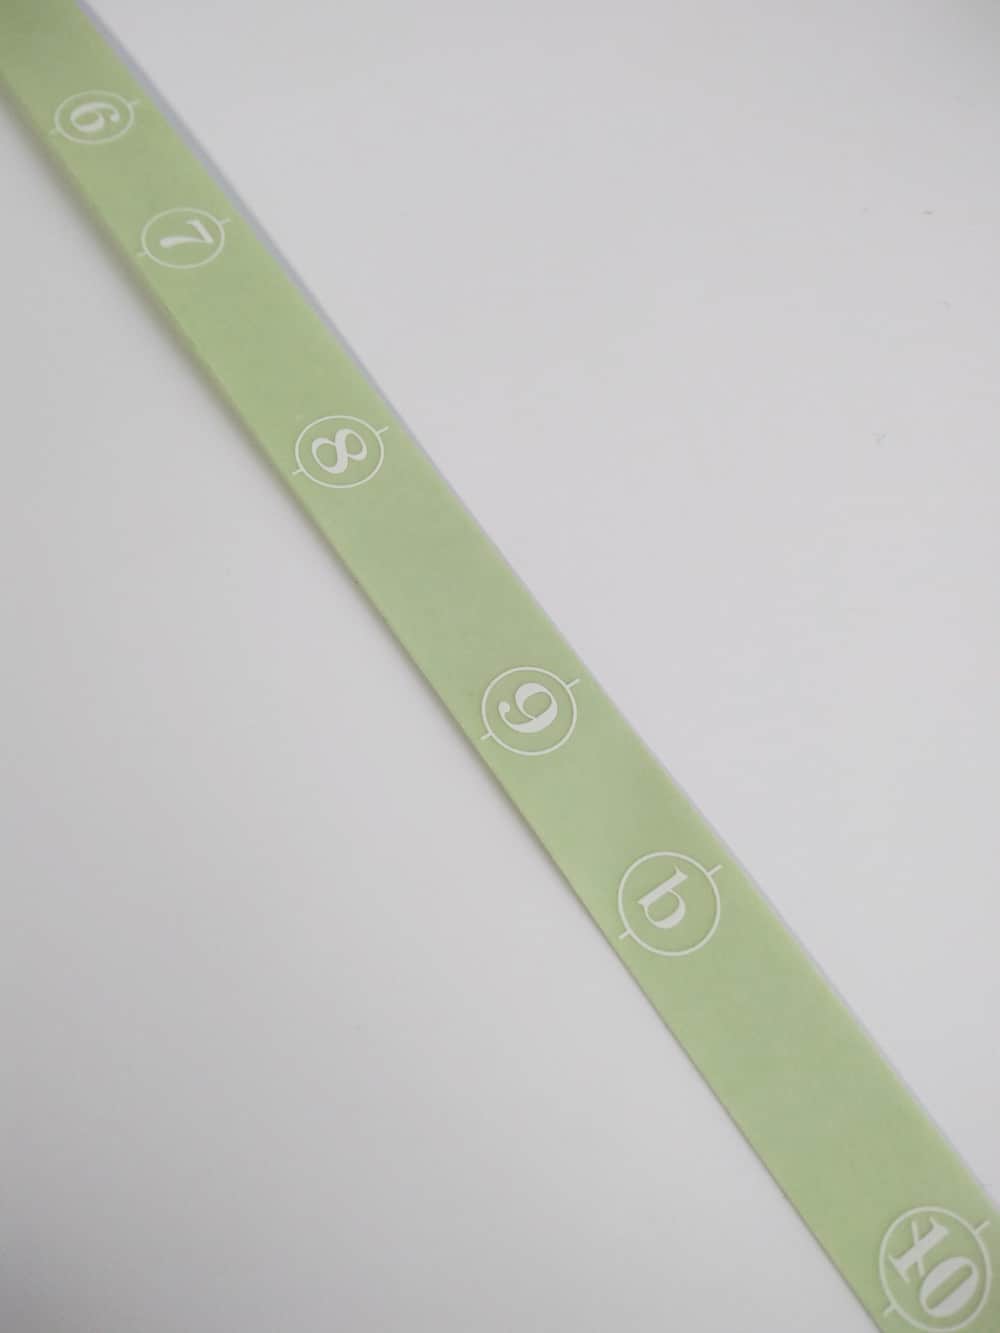
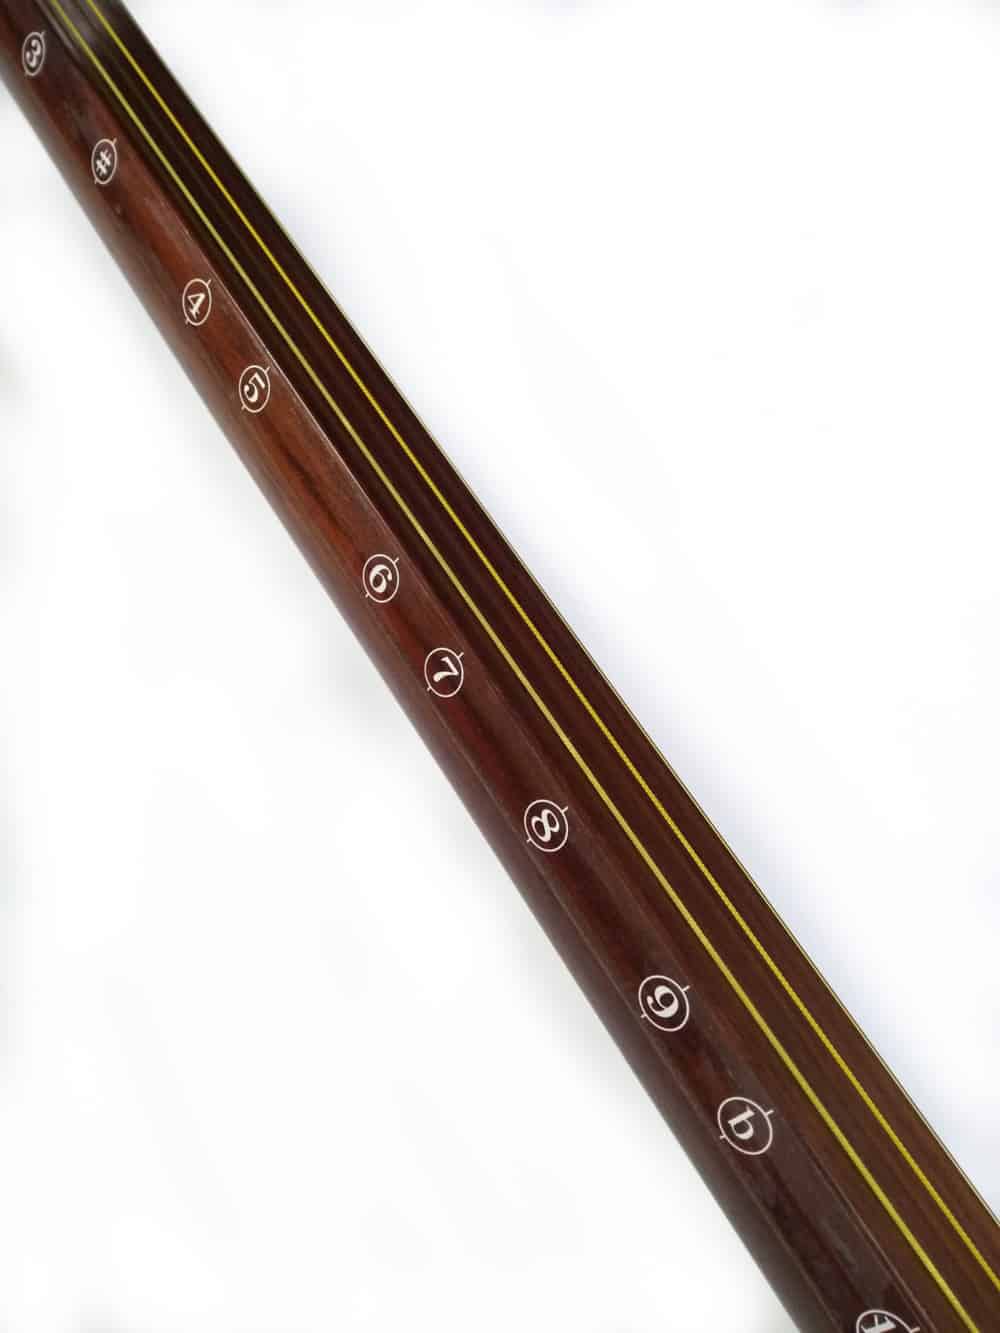
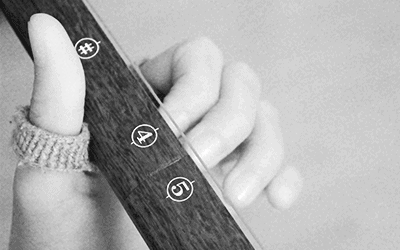
Marking the position on the shamisen's neck is so common nowadays that there's specific adhesive strips for that on the market: the fujaku strip. This clear, narrow strip is self-adhesive and has markings for all positions up to position 18. It's very easy to use and just takes seconds to apply. You only need one single point of reference that should then make sure all the other positions are more or less accurate. You can order such a strip at Shami-Shop.

fujaku strip pre application

fujaku strip on a shamisen's neck

Individual Markings

Although the fujaku strip is really handy, many people still make the effort to mark individual positions instead. A good choice are small stickers (I usually use little dots). Another common choice are little paint dots. Paint dots are very durable and don't wear off when playing, but they're also hard to remove if you want them gone. Each position needs to be located and marked individually. That means the more markers you want, the more effort you have to put into setting them up. In this case, I recommend going with less: It's sufficient to just mark those positions you use the most. Your fingers will be very quick in finding the positions in between with those reference points. I have not come across a shamisen with all the positions marked out individually. For beginners, it's usually four to nine dots - when you decide to cover the second half of the neck, too. As a comparison: the fujaku strip has 21 markings.

Which Positions Shall I Mark?

The crucial question that creeps up now is: Which positions should I mark?
If you mark all the existing possible positions, you will be prepared for whatever may come you way, but your neck will also look very crowded and you will have to take a really close look to see where the position you're looking for actually is. That might take up so much of your focus that it ends up impeding your actual playing. If you mark more sparingly, you give your hands the chance to learn where the positions actually are. When you have fewer markings, it's also a lot easier to perceive the dots with your peripheral vision and just take a quick peek at the neck when you need it.
Choose the number of markings depending on what kind of music you play and pick those positions that occur most often. Especially those that you're playing with the index finger. The positions you play with the middle or ring finger will soon be easy to find when you remember where they are in relation to your index finger. For example, marking positions 5 and 7 is almost a waste of effort because you play them with the middle finger in most cases. With your index finger on position 4 or 6, it's super easy to train your middle finger to find the neighboring position 5 and 7. It's a matter of practice, and omitting the extra visual cue can actually improve the learning process.
There's no harm in marking plenty positions though to feel safe and confident. Removing the little stickers is super quick and easy, and adding additional ones, too - in case you realize you need more or different positions later because you're playing different songs or unlocked higher positions in advanced songs. 

Preparing your Shamisen

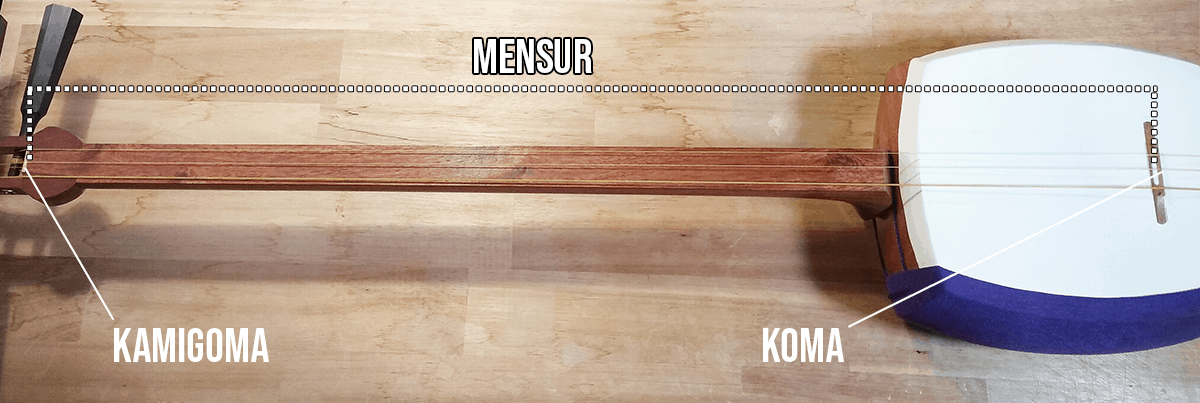
If you want to mark positions on the neck - both with the strip or individual stickers - there are a couple of things you should be aware of: 1) Wipe down the neck to make sure the surface is not dusty or oily. That makes the adhesive stickers stay on better. 2) Mark the koma's position on the skin. You can mark the position on the shamisen's skin with a pencil (draw a fine line along the komas' edge) or remember where you put the koma another way (check out the article with a detailed explanation on how to best place the koma). The markings are only precise when the koma is placed in the same spot as when you added the markers. When you move the koma, you will lengthen or shorten the scale length (that's the length of the string that you strike, basically). The scale length influences where which position ultimately is. For placing the markers, you're going to need a pencil and, of course, stickers or some other means of marking (nail polish is a popular choice, but be aware that it might affect the wood).

Finding Positions with Measuring Tape

When I attach a fujaku strip, I always use position 10 as the reference point. That's the octave to the open string. This position is the easiest to locate - you don't even need a tuner. The octave is exactly halfway between the kamigoma and the koma - it cuts the scale length in two equal parts. You can measure out the octave (= position 10) with a measuring tape. In the accompanying video below, I show how to do that with a shamisen with a scale length of 80 cm. Position 10 is, in this case, at 40 cm. Another reason why I choose position 10 as my reference point is the fact that this is an especially important position to get "right" pitch wise. You will often encounter a jump to position 10 in pieces. It really sticks out, so I prioritize this position to make sure it sounds great! The fujaku strip is often not exactly precise for all the positions. As the strip is mass-produced and instruments are not, it doesn't work equally well for each individual shamisen. It was developed on the basis of some norm for the neck and scale length. Especially with older instruments, the measurements can vary quite a lot. The necks can be shorter or longer than "the norm". With positions in first half of the neck you have a bit of wiggle room when it comes to precise placement. The higher the pitch, the more exact you need to be to get a clean pitch.

Finding Positions with a Digital Tuner
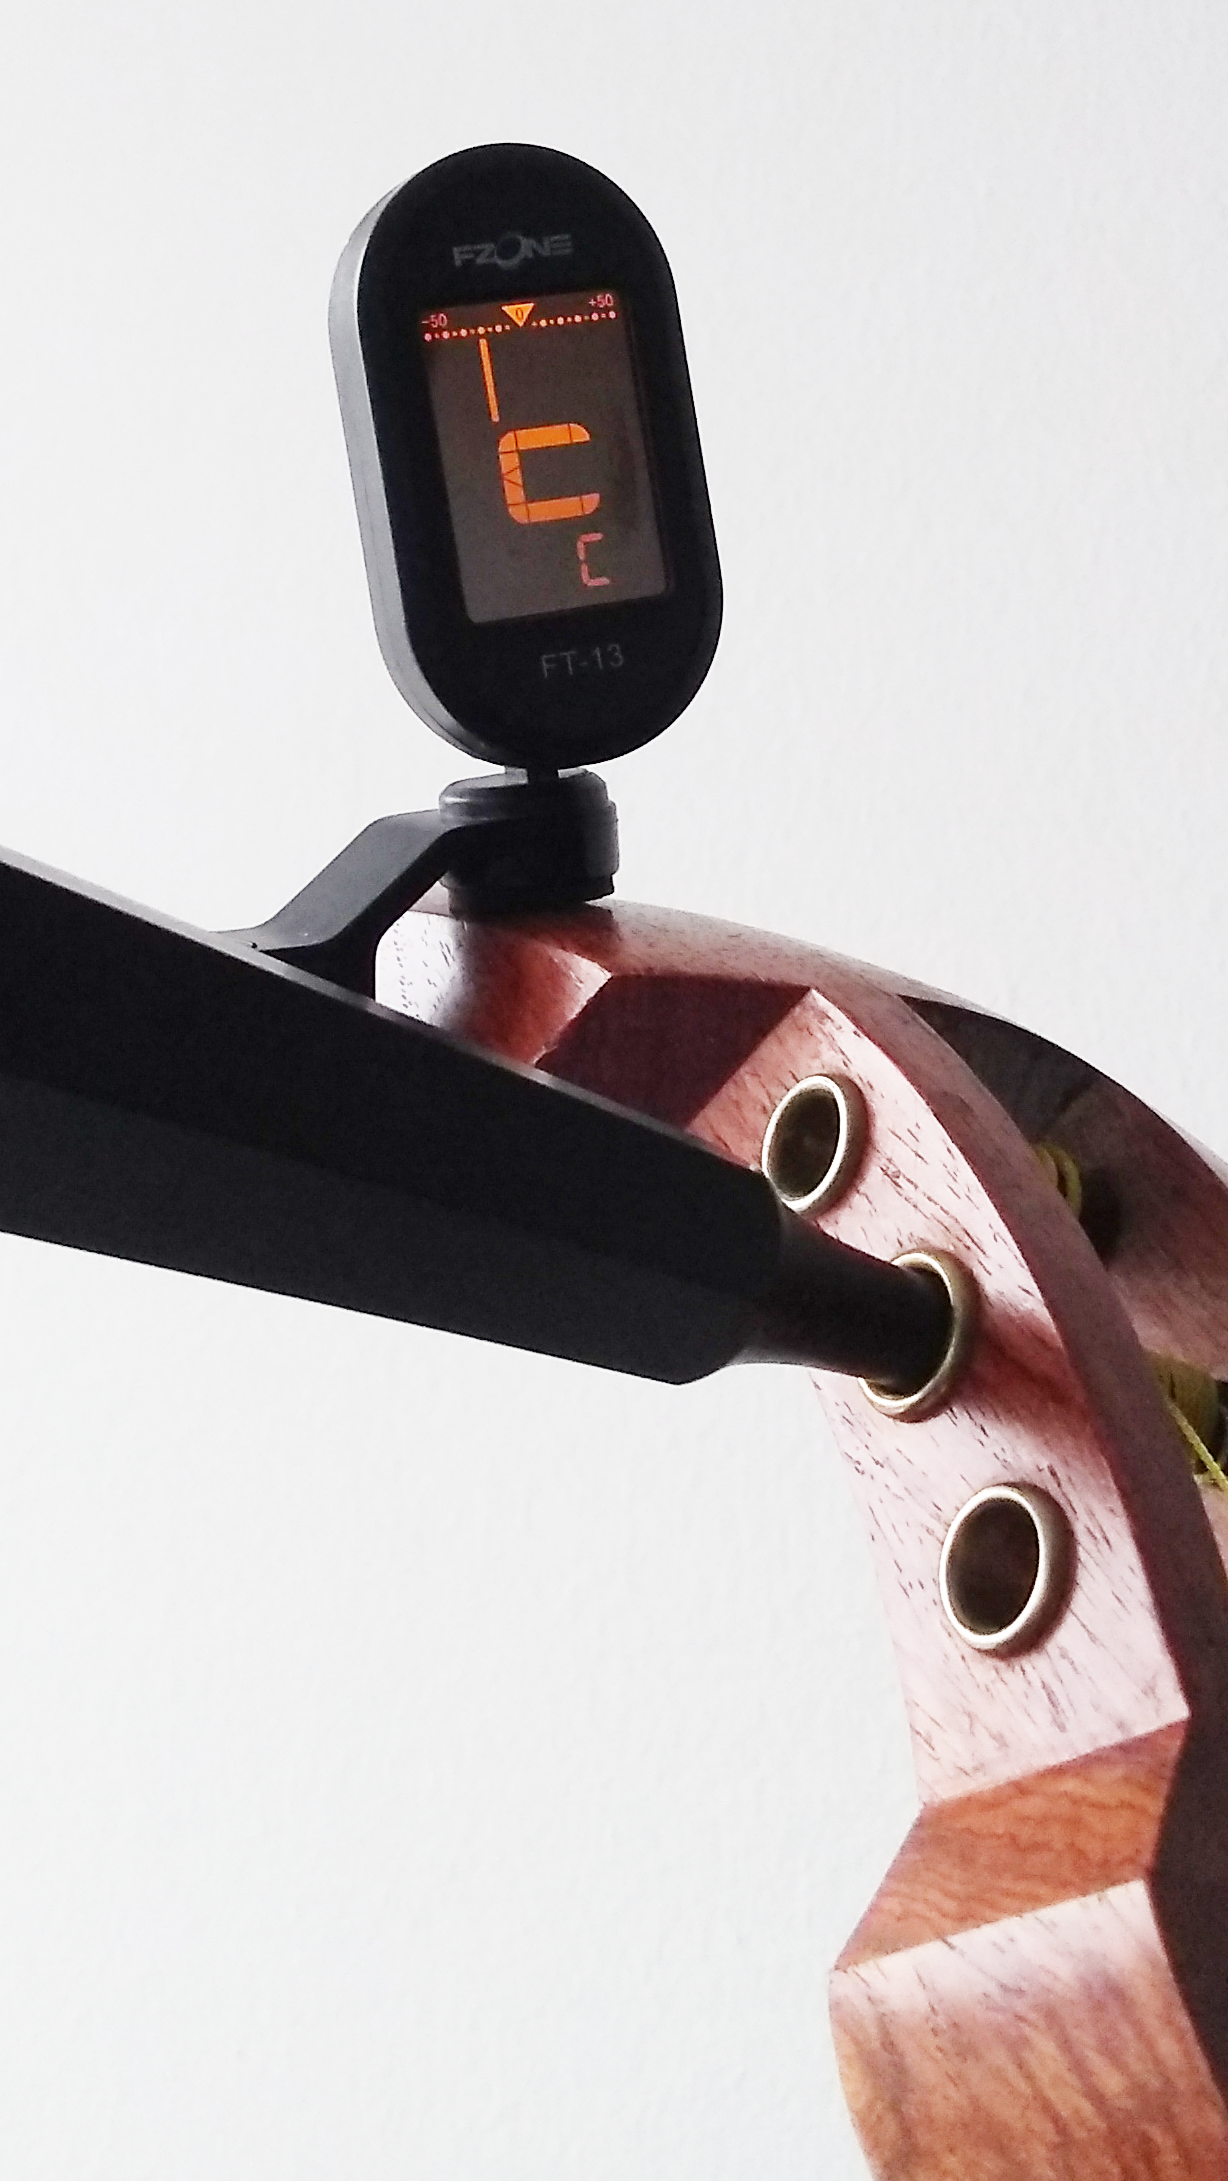
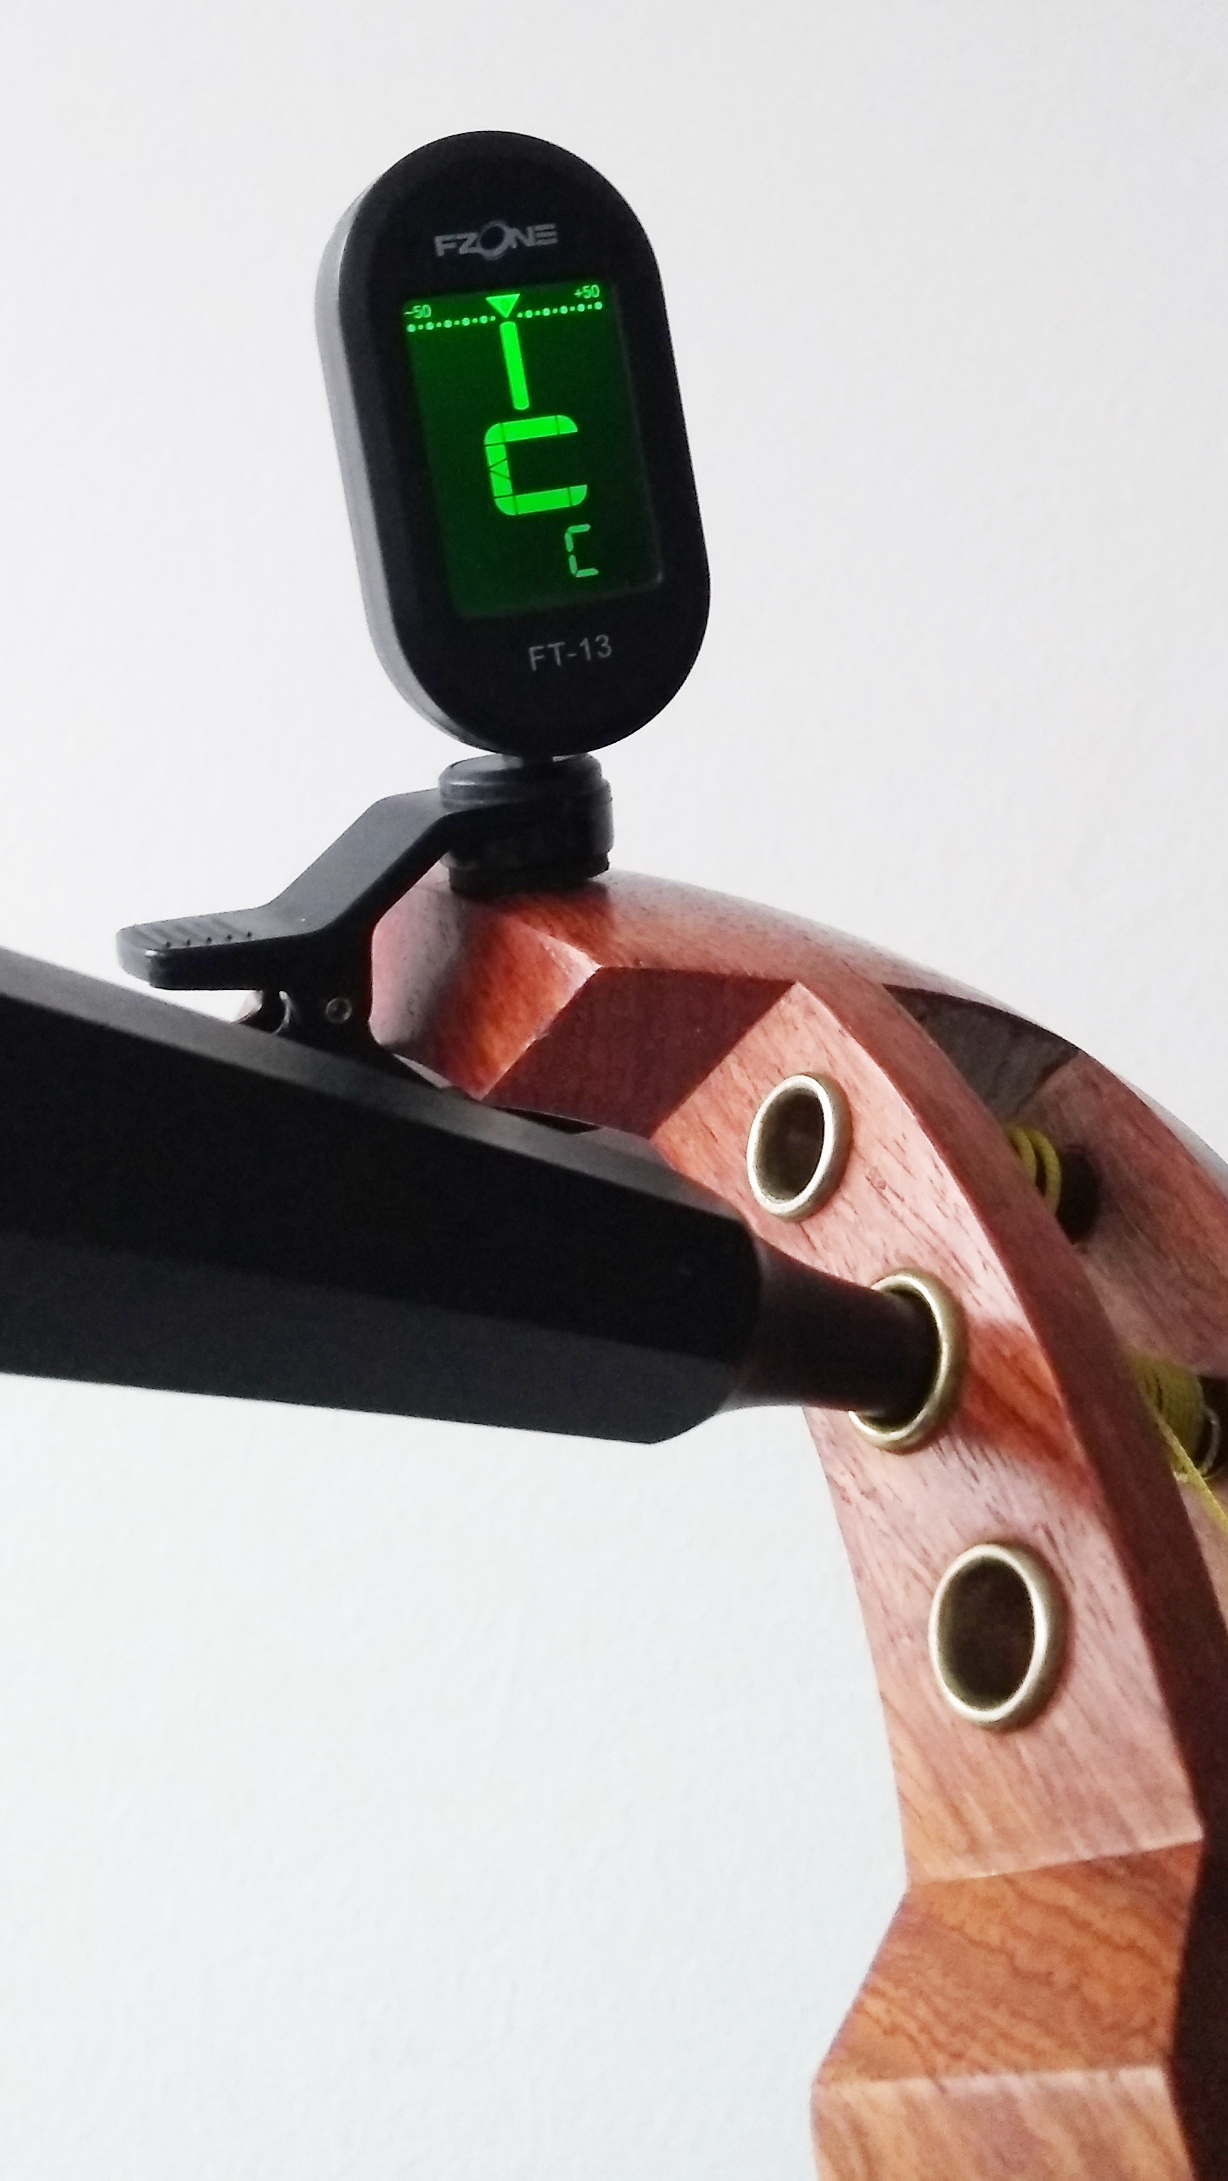
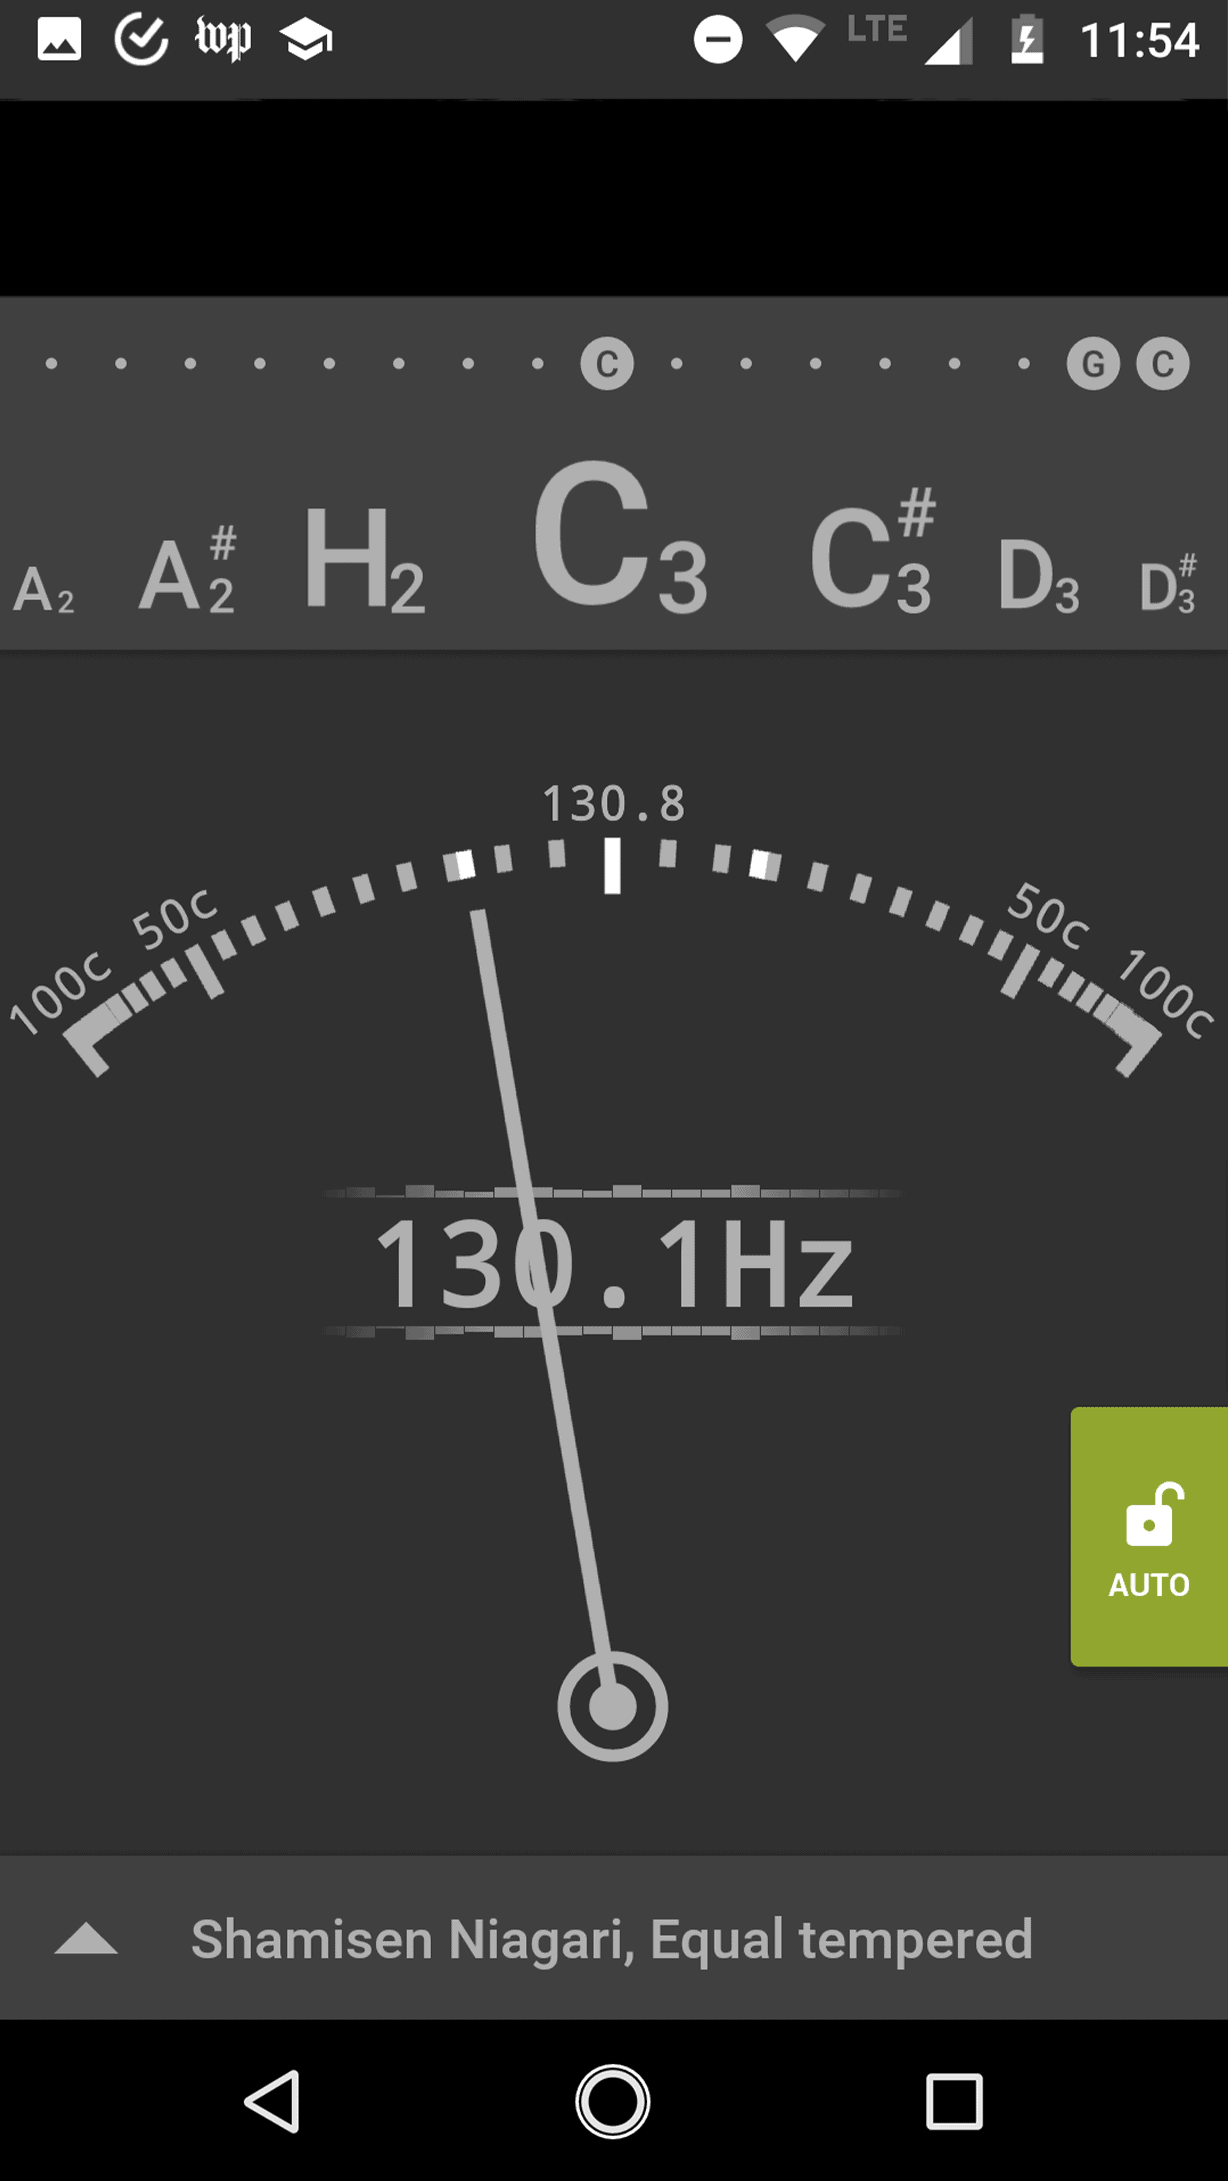
For all the other positions you can either rely on your ear or get help with a digital tuner to locate the positions. Clip-on Tuners and tuning apps on the smartphone (Android, iOS) are affordable helpers that can give you more certainty in the process. Those devices pick up your instrument's sound when you hit or pluck the string and then show the according pitch zone on the display. It shows around what note you're at and if you're below (flat) or above (sharp) that pitch. You can easily see wether you need to tune up or down to get to your desired pitch and when you hit a clean note.

too flat C

clean C

too flat C

clean C

It is strategically clever to start from a low pitch and work your way up to the higher pitches. Make sure your basic tuning is clean (to C3) and take your time to check every now and again in the process, because the positions always relate to the open string's tuned pitch. You can check out neat tips for tuning your shamisen over here and watch the video over here.

Although you can do this in seating playing position, I advise - especially when you're a fresh beginner shamisen player - to lay your shamisen on a table in front of you for this. You can put the tuner on the table next to it and will have your hands free. Pluck the big string and check wether the tuning is still accurate (C3). Press down on the string with one finger (index finger and thumb are the most agile) close to the kamigoma (the golden bridge at the shamisen's head) and pluck the string. Then, with as much pressure as you need to make the string sound clear, slowly slide the finger towards the shamisen's dou (sound box). Make sure you move the finger while you can hear the sound of the plucked string. The tuner will now show you the approximate pitch. Stop at whatever pitch position you want to mark the neck. Then switch to your fingernail to pinpoint the precise position. You can then mark that spot with a pencil or directly tack down a sticker. Repeat the process starting from that new marker. I made a handy overview over all positions for you to download at the bottom of this article.

From Close to Precise: Take your time to locate the exact location of the chosen position. Using your fingernail to press down the string is a lot more precise. Using the soft part of your fingertip, it's hard to really tell where exactly the string is pressed against the fingerboard. I recommend using the finger tip to get in the right ball park and then switch to fingernail for precise work.

Removing Glue Residue

In case you have old positions marker stickers or an old fujaku strip on your shamisen, removing them can leave some sticky residue on the wood. You can first try to scrape them off with your fingernail or a soft plastic corner (ruler, credit card). The last bits that don't come off this way can be gently removed with a bit of neutral oil (canola, camelia) and a soft cloth. Simply add a few drops on the cloth - or directly on the wood - and give the sticky bit a good rub. If you're facing stubborn spots, try rubbing a bit harder with a dryer part of the cloth. This works for all kinds of glue residue on the wood and grubby spots. Oil is your best friend in this situation :) Remember that your shamisen's wood likes to be pampered and will reward you with a lush luster.

Permission for Omission (it's a German idiom XD)

The more you play, the more your hands and ears know where you want to go and how to get there. Markings on the neck tempt the player to rely on them and use the eyes all the time. It can take some effort to let go of that comfort. What happens if you do is not loads of off-pitch sounds, but freedom. Freedom to pay more attention to the bachi, freedom to actually listen to the music you're making, freedom to more actively shape the music you're making. That's why I give you permission to omit positions, to not look at the markings, even if they're there. Trust in your hands. Trust that they get used to the distance between the positions, the movements necessary to get from A to B (or from 4 to 6). If you can 10-finger-type on your computer's keyboard, you very well know the benefits of blindly trusting your fingers: More space for the Essential. You can always take a peek if you encounter a rare position you want to hit. But through trial and error, and repetition, you can find every position without looking. You got to understand the positions in context. The goal is not finding a position out of nowhere. You don't want to train yourself to sit down and pinpoint position 18 out of the blue. Although this is an impressive skill, it would be totally overdoing it. You want to find the positions in the context of a musical piece, a series of positions and sounds. All you ever need is to find your way from one position to another. So stick on your markers and play lots of songs. But don't hesitate to scrape off some of the markers later. You will prove to yourself that you are making progress. Even though it rarely feels that way, you certainly do! And realizing that your hands know their way around the neck is a very nice ego boost :) Step by step, with patience and a curious mind. That's how it's done!

Watch the video here:

This could be interesting for you, too: 

Shamisen auseinanderbauen

Shamisen auseinanderbauen

Viele Shamisen lassen sich auseinander bauen. Das macht den Transport einfacher und sicherer. Je frischer die Verbindungen sind, desto schwieriger lässt sich der Hals zertrennen. Zum Glück gibt es ein paar Tricks, das sicher über die Bühne zu bringen.

Shamisen richtig aufbewahren

Shamisen richtig aufbewahren

Wer sich möglichst lange an seinem Instrument erfreuen möchte, sollte sich Gedanken um die richtige Lagerung machen. Es gibt verschiedene Möglichkeiten, sein Instrument sicher und praktisch abzulegen, wenn man es gerade einmal nicht spielt. Auch wer wenig Platz hat, wird sicherlich ein gutes Plätzchen für seine Shamisen finden.

Das Yubisuri

Das Yubisuri

Wozu braucht man das Yubisuri und wie trägt man dieses kleine Teil eigentlich richtig? Das Yubisuri ist ein sehr praktischer kleiner Begleiter, der zurecht einen festen Platz im Instrumentenkasten ein es jeden Shamisen-Spielers hat. Was die verschiedenen Modelle unterscheidet und wie man die richtige Größe findet, gibt es hier nachzulesen.

en_US

Pin It on Pinterest

Share This