The Problem
Wooden pegs may creak a little, but this kind of squeaking happens almost exclusively with acrylic ones. The sound is as unbearable as fingernails on a chalkboard or cycling with an unoiled chain.
Recently, I came across a simple solution from a reliable source in Japan. I was curious, tried it, and the result was pure peace of mind.
The cause of the horrible sound is residue buildup on the peg. Once removed, the problem is gone — it’s that simple.
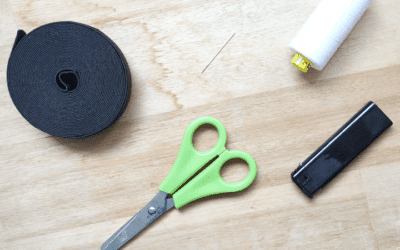
Materialis
To banish the squeak once and for all, you’ll only need a few household items:
water
dish soap
sponge
kitchen towel
cotton swabs
paper towel
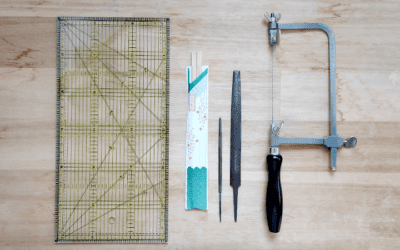
The Procedure
The tuning peg just needs a thorough cleaning. Regular dish soap is more than enough — stronger cleaning agents are usually bad for the environment, expensive, hard to find, and above all, unnecessary.
Step 1: Remove the Itomaki
First, unwind the string completely and pull the itomaki out of the tenjin. The easiest way is to loosen the peg and gently pull the string downward. You’ll likely see dark residue at the narrow end of the peg — that’s the culprit.

Itomaki with dark residue.
Step 2: Clean the Itomaki
Wash the peg at the sink. Since acrylic is waterproof, that’s no problem. Add a little dish soap to a damp sponge and scrub the residue off thoroughly. I use the rough side of a standard kitchen sponge. Rinse well with clean water, dry it completely, and set it aside.

Cleaned itomaki. The discolorations have successfully been scrubbed away.
Step 3: Clean the Zagane
Residue also builds up inside the zagane (the metal sleeve the peg sits in), so that needs cleaning too. Use a cotton swab dipped in a bit of soapy water to wipe the inner surface. The peg doesn’t usually go very deep inside, so clean from the inside edge as well.


Final Step: Testing
Once everything is clean and dry, reinsert the itomaki and turn it. If all went well, silence! Peace for your ears.
After you’ve restrung the shamisen, your instrument is ready to play again — squeak-free.
Watch the video here: