Small but Mighty
What we’re dealing with
Wood, plastic and more

Plastic

Bamboo

kōki
full bamboo

bamboo with bone inlay

bamboo with bone
Note: Be careful with plastic koma — the top corners are very prone to chipping. Beginners often accidentally bump that edge; with a plastic koma the corner can break off quickly. If that happens you usually don’t need a full replacement right away, since there’s often still enough room to re-cut notches for the strings.
The Subtle Differences
Material and Size
Both effects come down to how much vibration the bridge absorbs. If you want a softer tone, choose a wider koma. A koma made entirely from wood will sound a touch warmer than one with a bone edge. So appearances aren’t just decoration: pretty = fine, but not necessarily best for the sound.

The upper koma produces a bright, strong sound.
The lower koma produces a dark, warm sound.
Low or high — which feels better?
Try Before You Decide
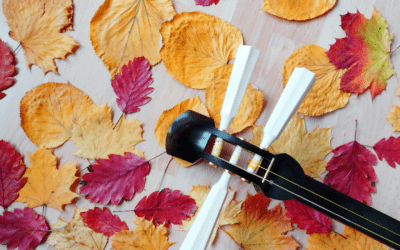
Finding the Perfect Position

Rule of thumb: about three finger-widths from the knot — but expect variation day to day.


This means the spacing can vary day to day.

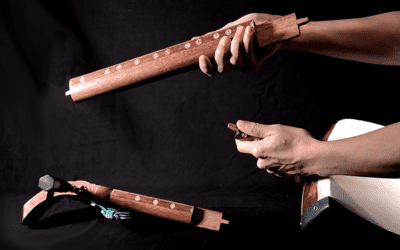
Inserting and Removing the Koma
How to Insert the Koma — Step by Step

1. Identify the grooves on the top edge of the dō.

2. Slide one or two fingers into the gap between neck and body.

3. Lift the strings straight up.

4. With your other hand, slide the koma under the strings.

4. Place it roughly in the middle.

5. Hold the koma firmly between index finger and thumb.

5. Pull it toward the neo with minimal skin contact.

6. Lower the strings so they sit in the grooves.

7. If needed, correct the position by gently nudging it.
How to Remove the Koma — Step by Step

1. Slide a finger into the gap between neck and body.

2. Lift the strings straight up.

3. Grip the koma firmly between index finger and thumb.

4. Pull it toward the neck with as little skin contact as possible.

5. Slide the koma out sideways.

6. Lower the strings and stow the koma away.
Watch the video here: